The best part about Halloween is coming up with fun and cute creations!

Combining one of my favorite chocolate cupcake recipes and getting a little creative to bring my cupcake mummy monster to life!!
Ingredients (makes 12 cupcakes):
Chocolate Cake:
- 3/4 cup all-purpose flour
- 3/4 cup granulated white sugar
- 1/2 cup Valrhona cocoa powder
- 1 teaspoon baking soda
- 1/2 teaspoon baking powder
- 1/2 teaspoon salt
- 1/4 cup avocado oil
- 1/2 cup plus 2 tablespoons buttermilk, at room temperature
- 1/3 strong coffee, hot
- 1/2 tablespoon pure vanilla extract
- 1 large egg, at room temperature
Fluffy Vanilla Buttercream:
- 4 sticks unsalted butter, softened and cut into cubes
- 4 1/2 cups confectioner’s sugar, shifted
- 1/4 cup heavy cream (heavy whipping cream works too!)
- 1 tablespoon pure vanilla extract
- 1/4 teaspoon of salt
Additional tools/ingredients needed for assembly:
- Green and Black, Blue, Brown gel food coloring.
- Piping tips: I used Ateco 809 (for body for the cupcake monster), Ateco 133 (for hair of monster) and Ateco 44 (to mummify him).
- 3 Piping bags.
- Candied eyes and cleaver (mine are from Wilton).
- Black and orange sprinkles or sprinkles of choice.
For Chocolate Cake:
- Line cupcake tin with liners.
- In bowl to standing mixer, shift together all-purpose flour, sugar, cocoa powder, baking soda, baking powder and salt.
- In a small bowl, whisk together buttermilk, avocado oil, hot coffee, vanilla extract and then the egg (Make sure the hot coffee isn’t boiling hot that it will cook the egg).
- With a paddle attachment to standing mixer, on low speed, slowly add the buttermilk mixture to the dry ingredients. Mix until just combined and if there are some lumps, its okay. The batter will be watery, but it comes together when it bakes.
- Divide the batter between the 12-cupcake tin.
- Bake at 350F degrees for approximately 20-22 minutes. Check at 20 minute mark with toothpick to see if it comes out clean, if so, remove immediately. Otherwise, check back at 2-minute intervals.
- Allow the cake to cool down on the side for 5-10 minutes and then remove from pan and allow it to completely cool down on rack.
For Fluffy Vanilla Buttercream:
- Shift confectioner’s sugar into the mixing bowl to standing mixer.
- Using paddle attachment, whip together butter and confectioner’s sugar on medium speed (Kitchen Aid setting 4) for 8 minutes. The butter and sugar will become very pale and creamy.
- On slow speed, add vanilla extract, salt and heavy cream. Once incorporated into mixture, increase mixer speed to medium (Kitchen Aid setting 4) for 6 minutes.
- Frosting will become creamier, lighter and fluffy in texture.
- Divide the buttercream in half. For one-half of the total buttercream, it will be dyed green. For the other half, split that in half again (so it is 25% each of the total buttercream that was whipped up). Of the two 25% buttercream, one will be kept as is (white) and the other will be dyed black.
- For green buttercream, I used mostly the green gel food coloring, but also a bit of the black as well. It helped to darken the green color. Continue to mix and add until the colors until you reach the desired color.
- For black buttercream, I used a combination of black, blue and brown food coloring. At first, I just used the black, which turned grey (obviously… white buttercream plus black equals grey), but then I started to add some brown to make it darker and then blue to change the hue to be colder. Ended up working out!
- Fill the piping bags with respective colors and piping tips.
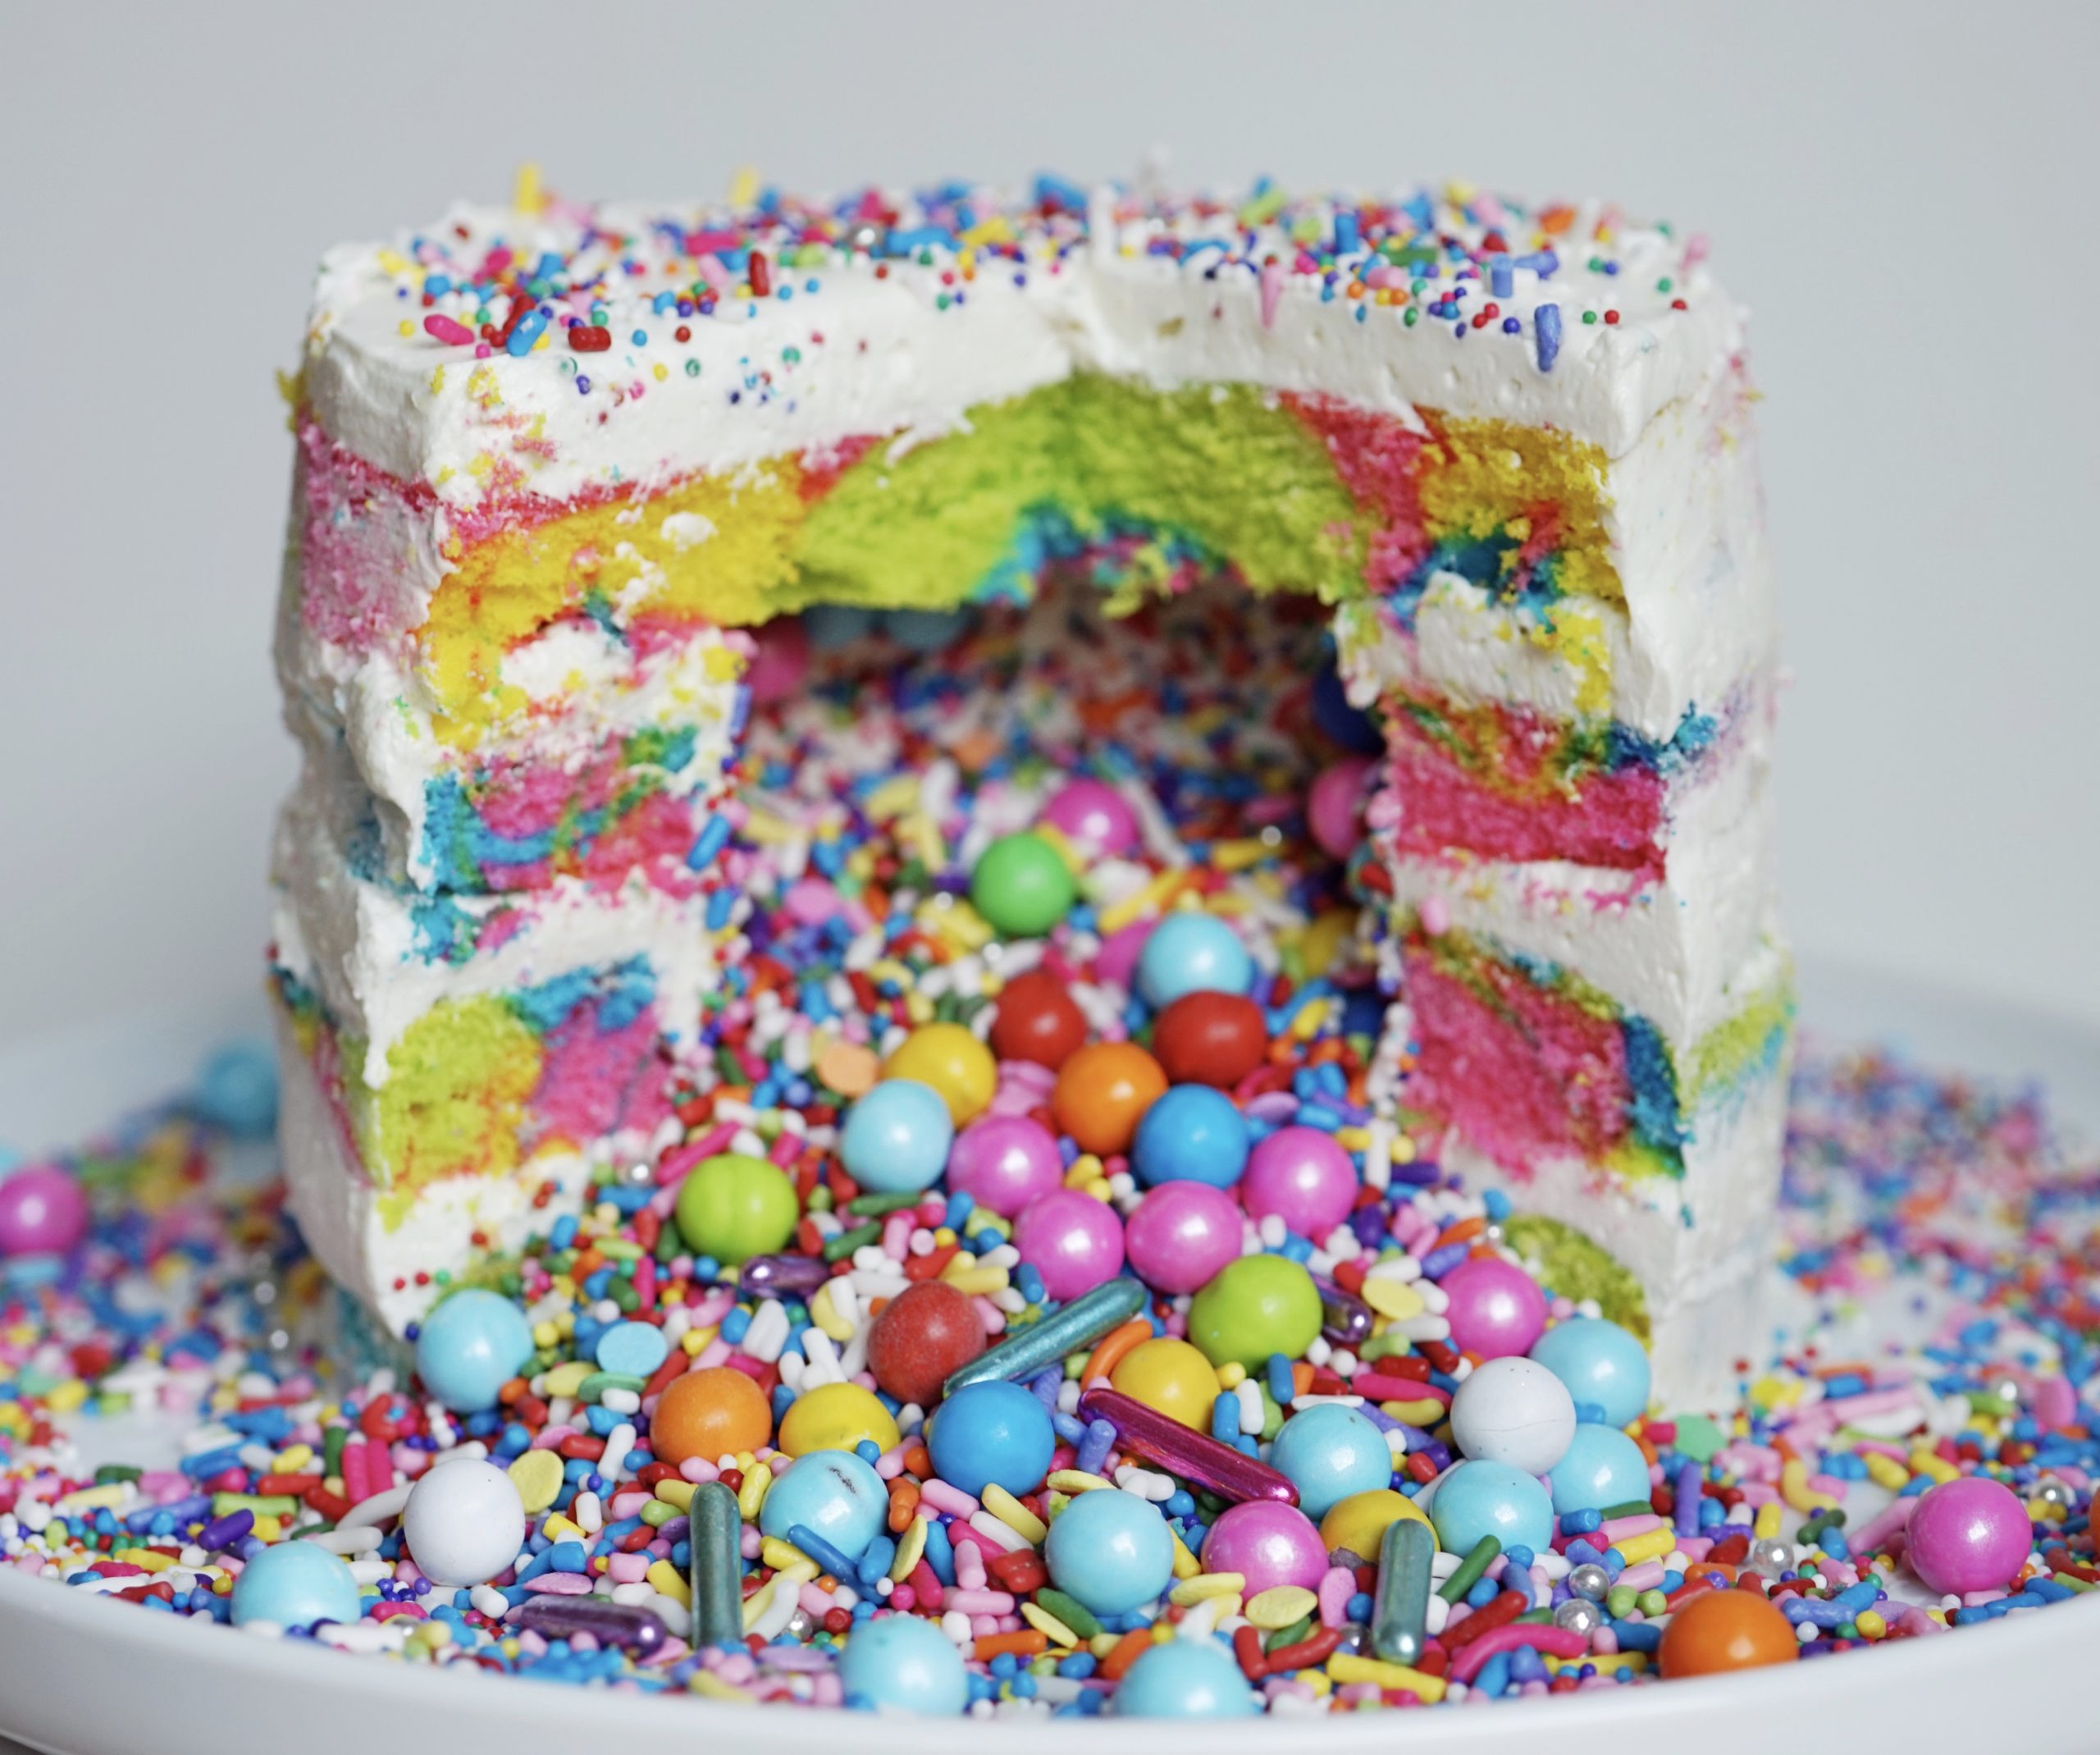
- Using a knife with serrated edges, cut into the top of the cupcake to create a small hole and use the knife to dig out some of the cake to full with some sprinkles!
- Using the large round open tip, create three swirls on top of the cupcake for the head of the monster.
- Add the eyes to the monster.
- To create the hair, squeeze the piping bag a little bit and gently pull the piping bag up. This is fun to play with – whether you want short little spikes or if you want to squeeze the piping bag longer and pull up to create longer, wavy hair (hahaa…). And if you’d like, try to style his hair a little bit! OR for a girl monster, keep gently piping out longer strands for long locks of hair! And if you make a mistake, it’s completely okay! Because you can cover it up with the white mummifying bandages!
- Using the white buttercream with the flat tip, gently wrap the buttercream around the little monster and covering just enough of him, so you see his eyes peeking out and still see his fun green face.
- Finish by adding knife to top of his head!

I love Halloween, so I hope you have fun with the Halloween monster creation!
Recipe is adapted from Sweetapolita.


1 Comment
So yummy it is 🙂